Tips for a quick & easy classroom setup

Let’s be real - most teachers fall into one of two categories as far as classroom setup goes: it’s either one of your very favorite things to do or you despise it. Which one are you?! I have always been the teacher who LOVES setting up a classroom, and often spent a good chunk of time over the summer thinking about it and prepping. My husband used to tell me all the time to stop, relax, and enjoy the summer - but I genuinely enjoy planning for a classroom setup, so it’s fun for me.
If you’re here, I bet you’re starting to think about and plan for your classroom for the upcoming school year. I’m SO excited you’re here, because this is the last post in a 4-part series all about how to create a classroom space that is beautiful and functional! Did you know you can do both?!
In the first few parts of this series, I shared my top tips for creating a beautiful and functional classroom space. You can accomplish both! I also shared a few quick ways to make your classroom a home away from home for your students.
Now I’m sure you’ve planned and bought all the things. It’s almost time to get in there and set it all up! I’ve already admitted I used to spend a lot of time setting up my room over the summer. But - that was pre-kids, and my husband was getting his masters and was always busy with school. Nowadays, I’d be trying to get in and out in as short amount of time as possible. Here’s a few tips to make the setup process as quick & easy as it could possibly be!
plan your layout ahead of time
If you’ve read the previous posts, they have hit this one home again and again - plan everything out! If you wait until you get in your classroom to look around and start thinking about what you want to do, this process is going to take much longer. Sketch it out and create a plan. Know if you’re placing desks in groups or rows, and where your library will be, etc.
Bonus Tip: I’m pretty sure most teachers do this already, but if you don’t - place your furniture first! If you have the big pieces setup to begin with, it will make it much easier to add all of the little things as you go space by space later.

Prep everything before you even step foot in your room
Prep. It. ALL. At least if you really want to get in and get out of there. My first few years of teaching I would go into my room to work and realize I needed this and that, and leave with a big list of things to print and prep that night. This really dragged out the process of setting up my room.
Do this: Make a list of every bulletin board, wall space, place you’ll need labels, etc. Then make a list of everything you need to prep for that space. Print, laminate and cut it. If it seems overwhelming, focus on prepping materials for one “spot” in your classroom a day over the summer - you’ll be prepped and ready in no time. Now, what to do with all these pieces floating around?! Let me tell ya my favorite timesaving tip!

organize materials together in ziploc bags
I wish I had thought of this sooner. Let me tell you, it would have saved me loads of time searching for missing laminated pieces and doing laps around my classroom to find what I needed. Take all of the things you need to setup your different classroom areas, and put them in a gallon size ziplock bag. Then when you get into your classroom and you’re going to work on decorating your classroom door, you have everything you need in that bag - you can get that thing doooone! Please try this and let me know if it dramatically changes your classroom setup like it did mine.

have a classroom setup toolbox
Raise your hand if you’ve ever been a crazy person pacing your classroom looking under all the things for your scissors. Oh, and then your stapler. Wait, where are my scissors again?! I am positive this was probably my biggest time waster during classroom setup.
The solution?! So easy I wish I’d heard of it much sooner. Gather these things and put them in a school supply caddy.
Scissors, Stapler, Masking tape, Staple remover, Command hooks, Push pins, Measuring tape
This is your toolbox as you wander around your classroom getting things put up. BOOM! Mic drop. (Just kidding, I’ve got two more tips for ya!)
do one area at a time
One of my other biggest problems during classroom setup was doing a little here and there all over my classroom. Then when it was time to leave for the day my room was wrecked and I felt like I’d accomplished nothing. If you’ve already prepped all of your materials and they’re organized together in bags, you can knock a certain space out in no time. Stick to your one space and get it done before moving onto another. It will go much quicker and you will be able to look around and see that you’ve accomplished a lot at the end of the day!
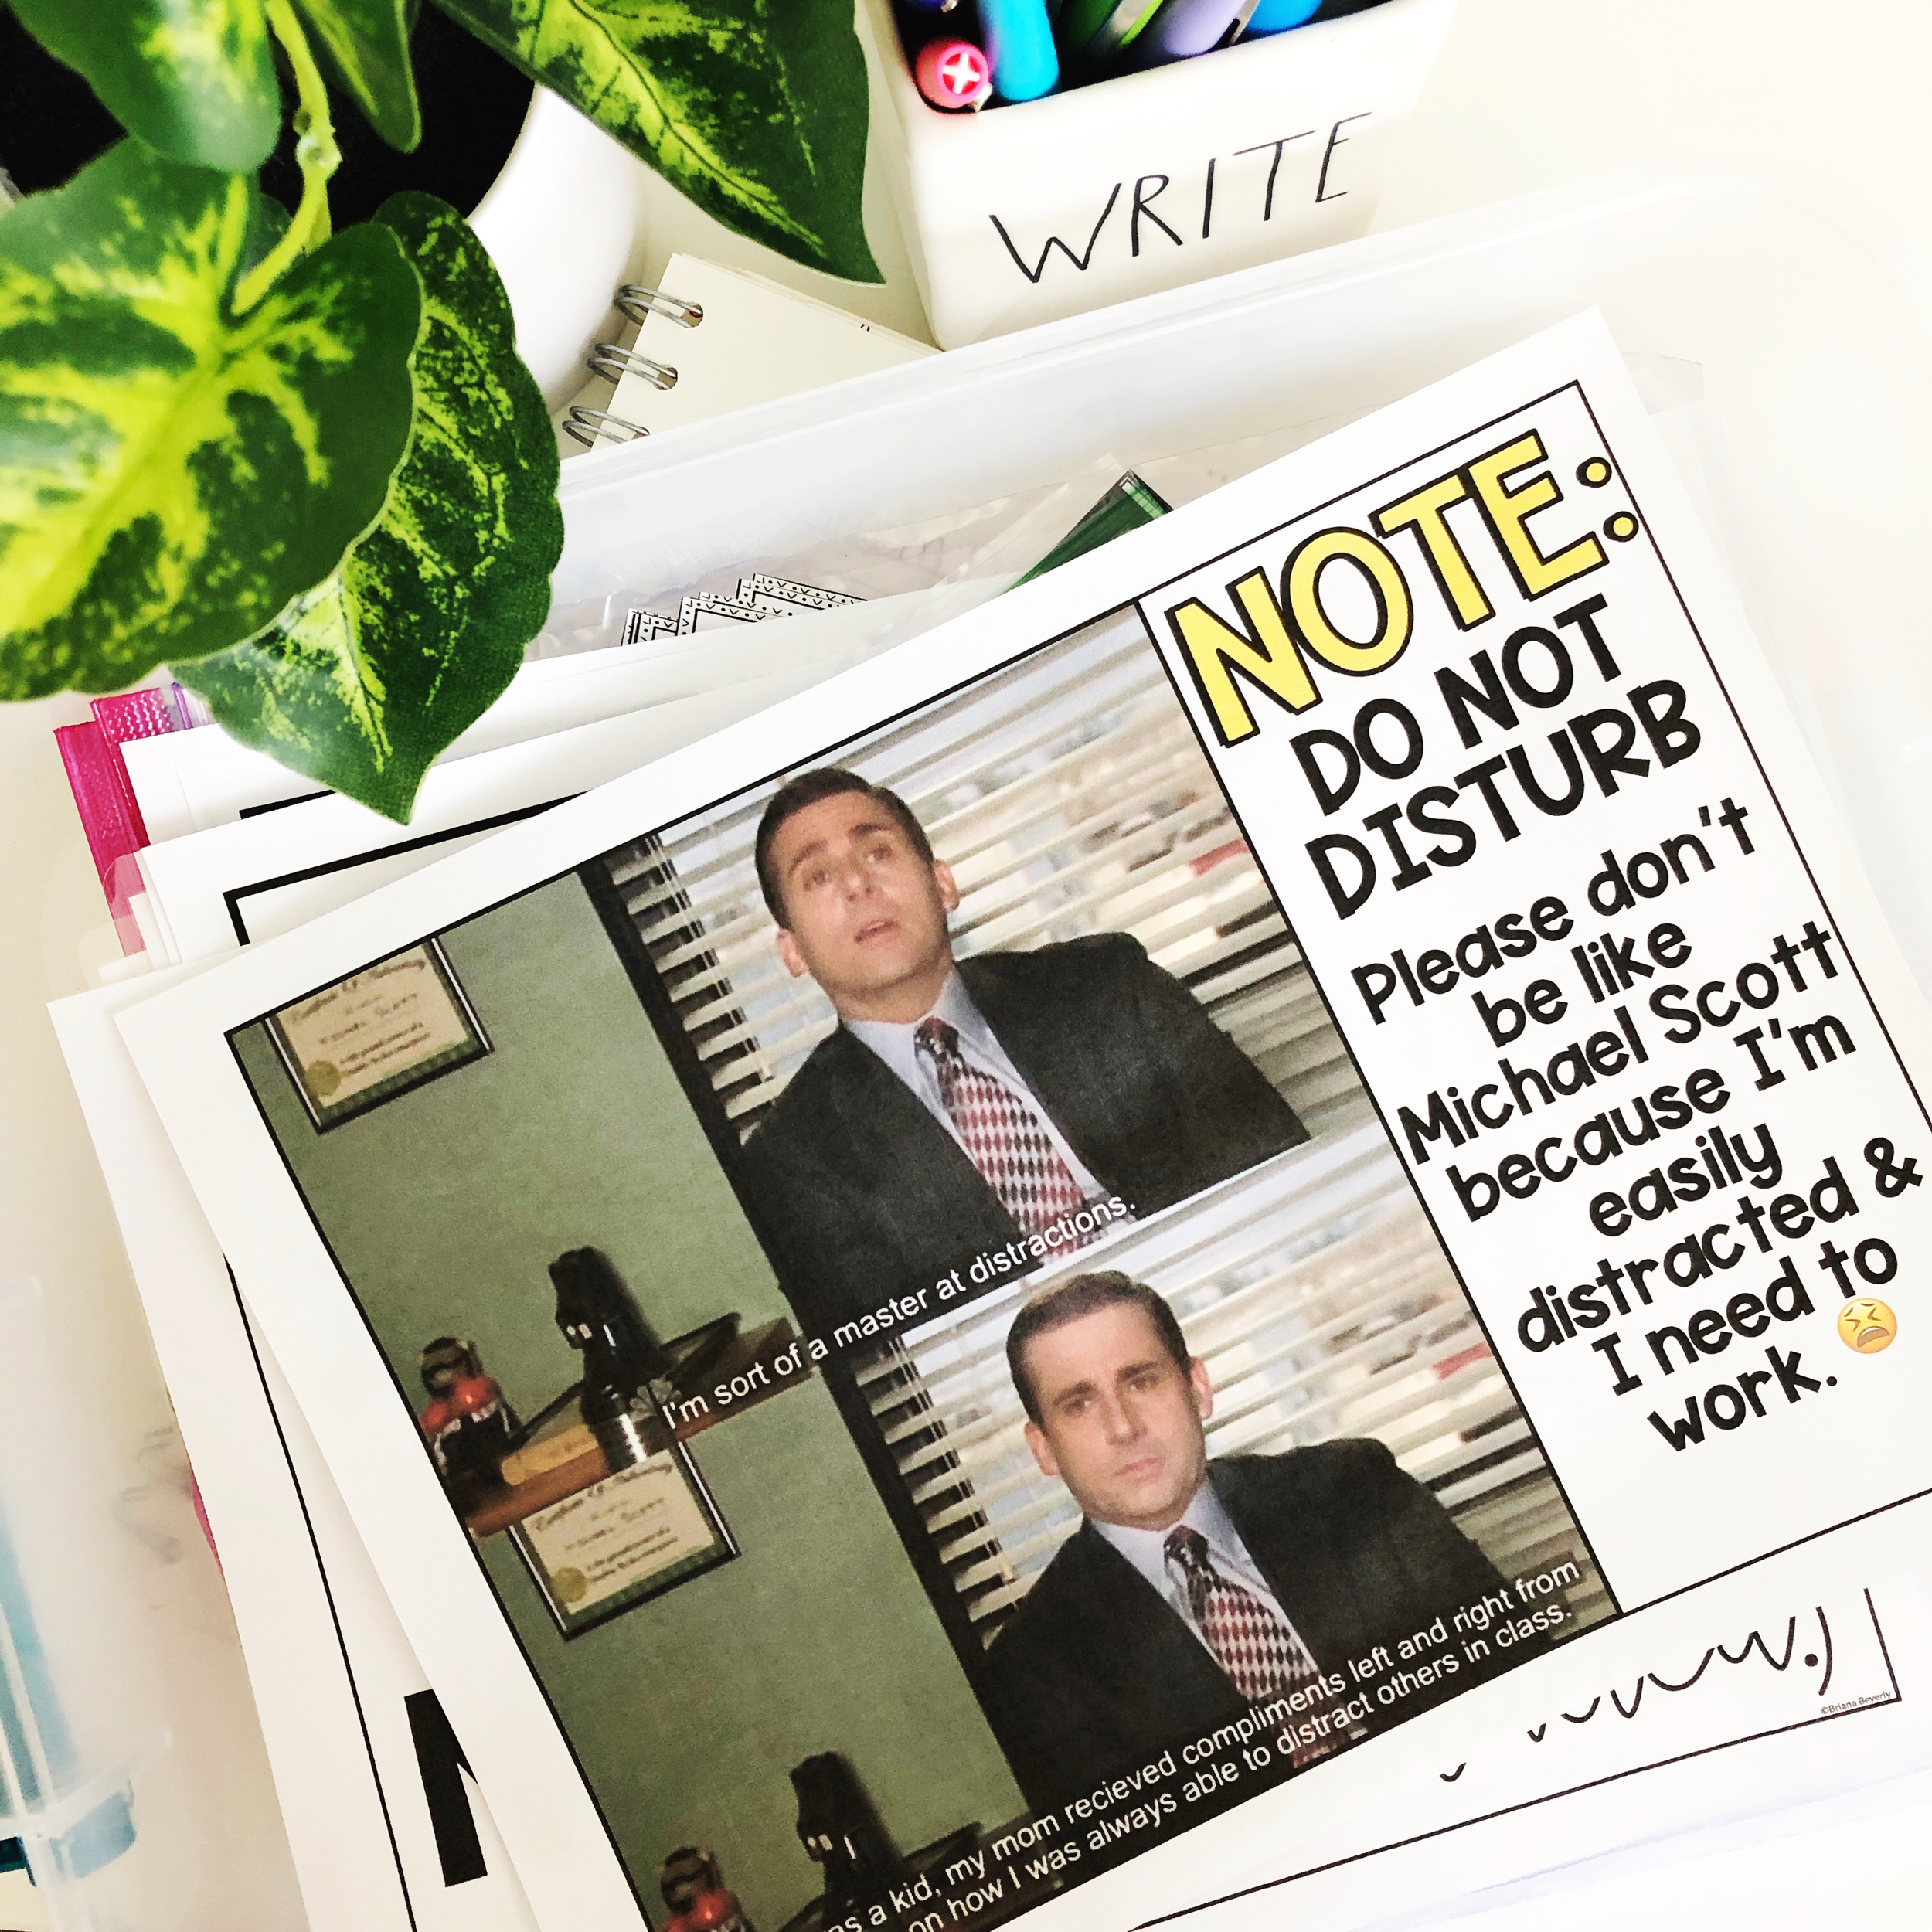
get. to. work.
It’s SO easy to get sidetracked talking with teammates - catching up, asking about room ideas, or just flat out procrastinating. I’ve been there, trust me on that. Set a lunch date with a teammate while you’re there - order in some lunch and take a break together. You can chat then, and still get lots of work done before and after. During your work time put a friendly sign on your door letting teammates know you can’t talk right now. I promise you they’ll get it. Here’s a fun sign you can print and hang on your door while working!